Starlink Professional Installations: Price and Availability


Andreas Rivera
Jun 11, 2026
Icon Time To Read2 min read

Rooftop Starlink installations require extra materials and specific tools. Customers may also be hesitant to work on top of their roof for safety reasons. | Image by Starlink

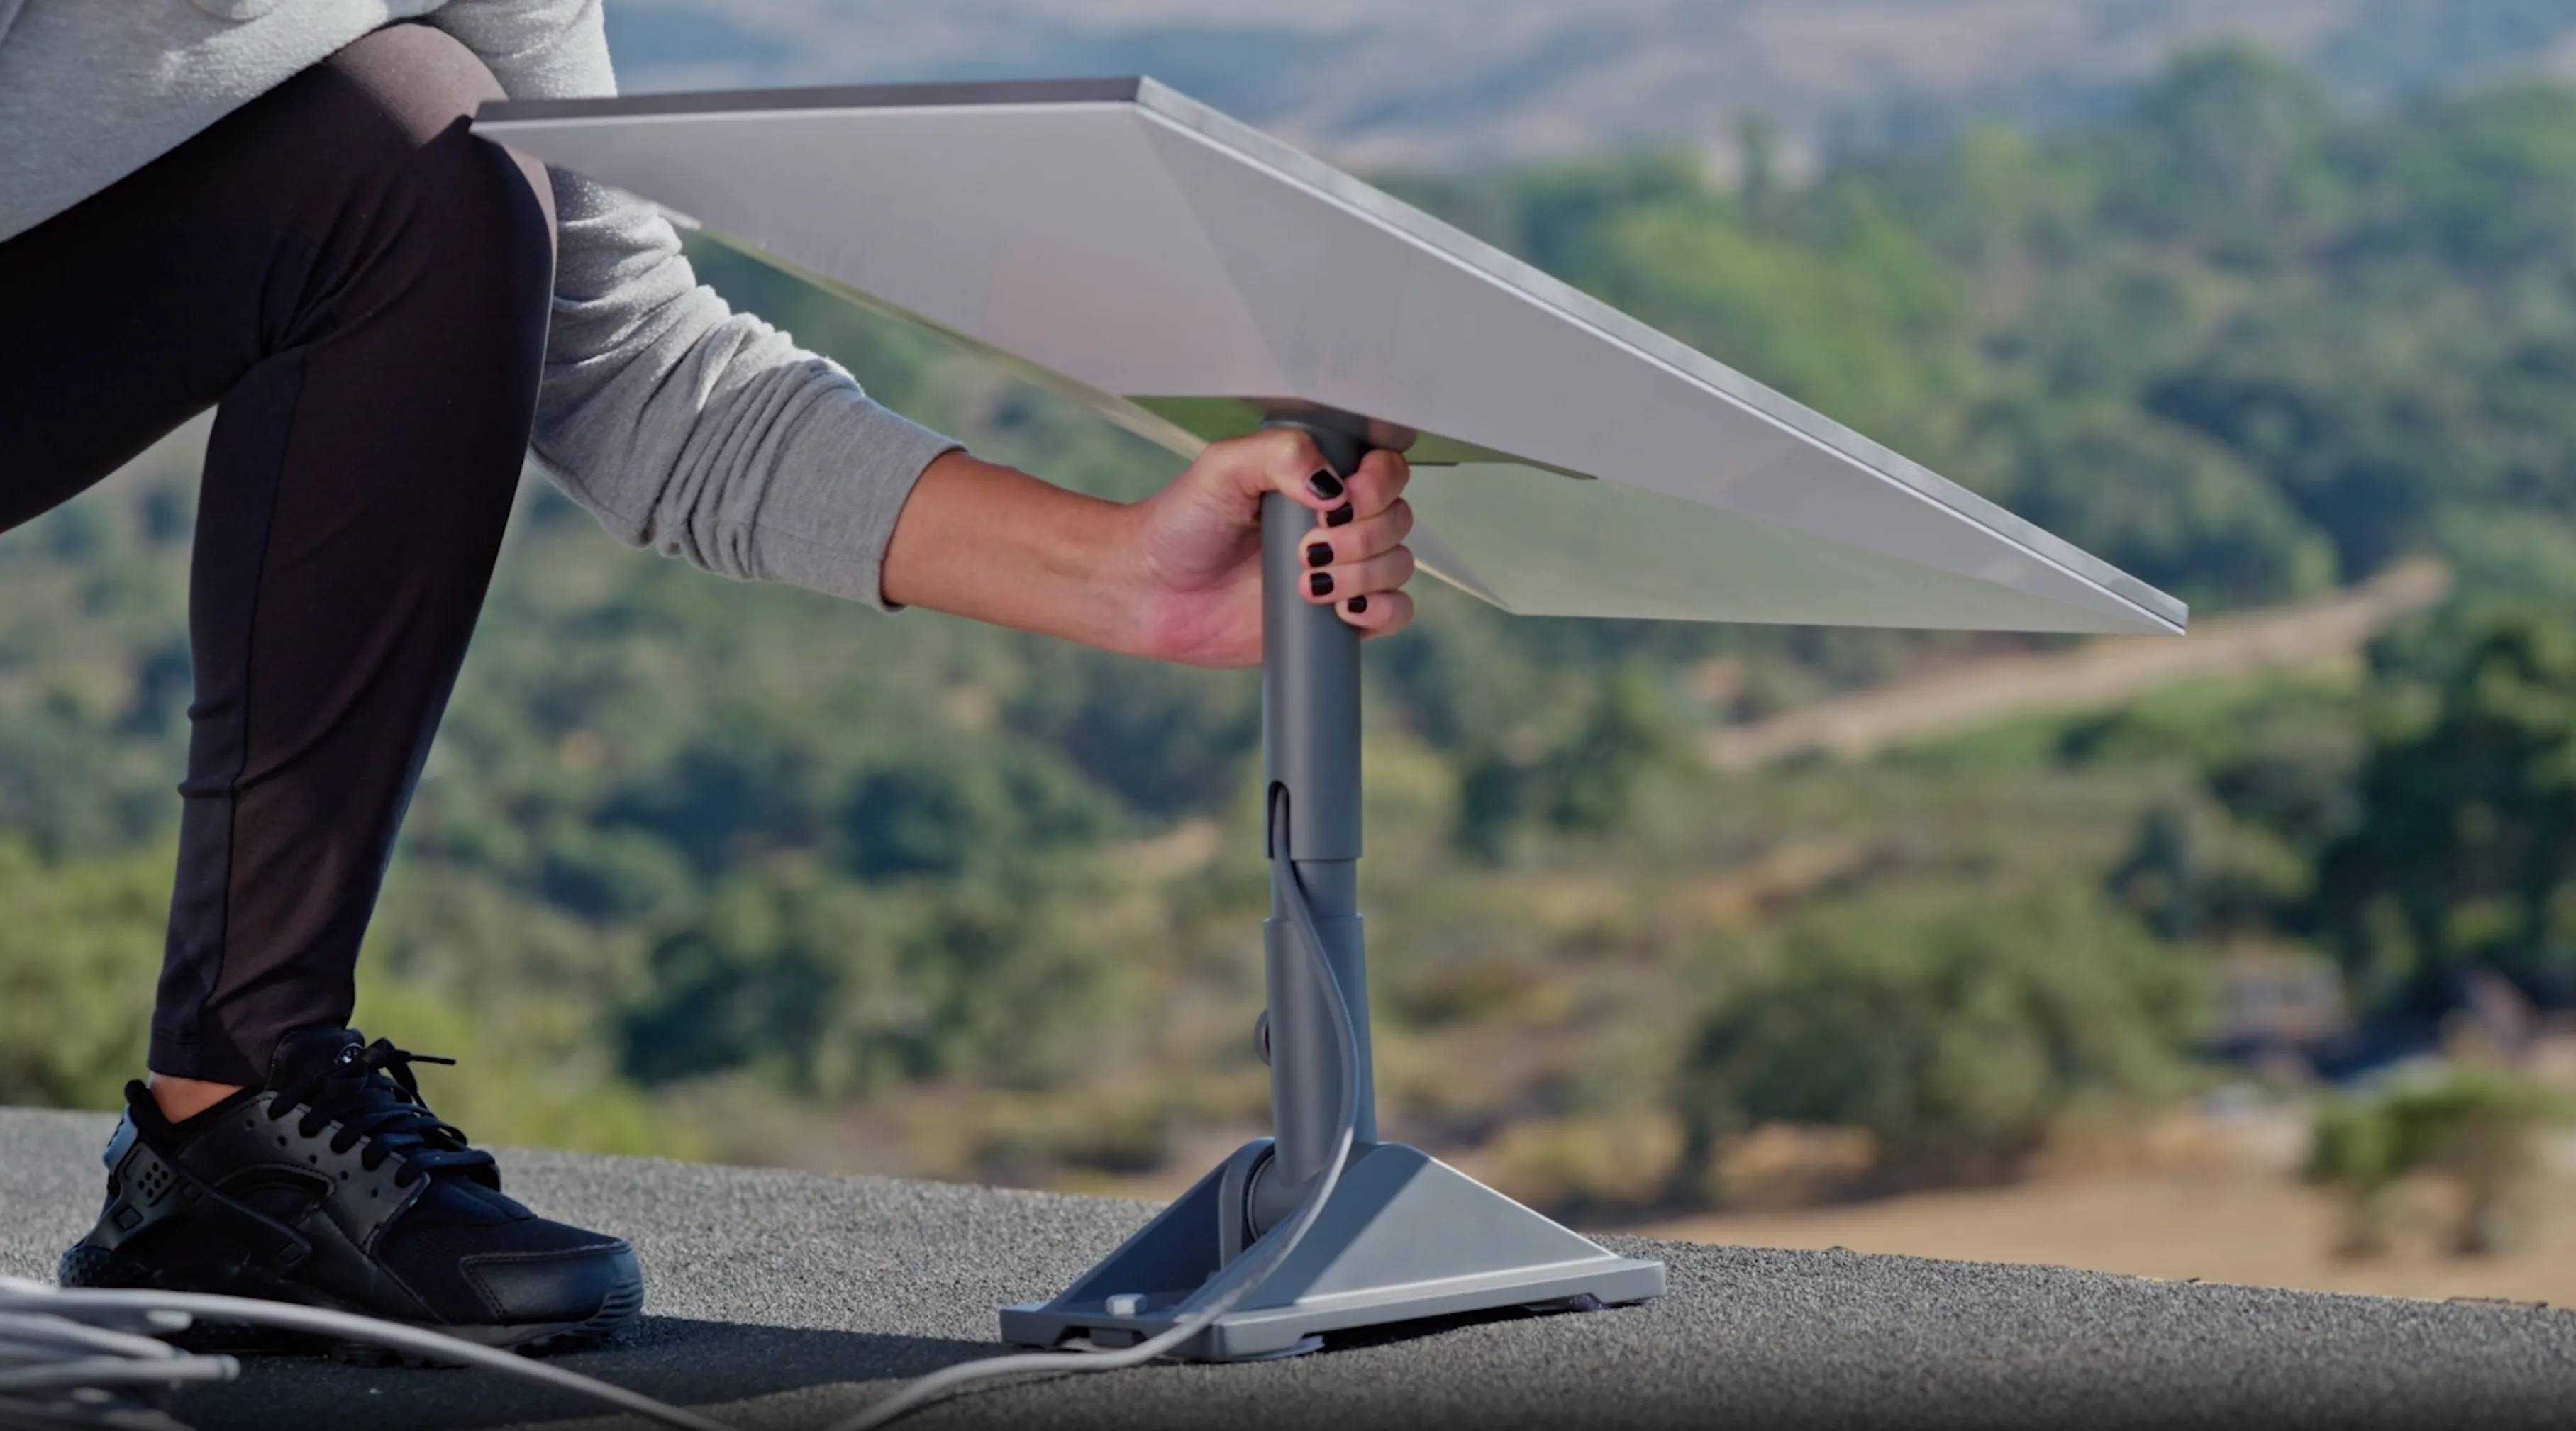
Starlink has long been known as a completely self-installed internet service. All you need is the equipment and the mobile app to set up the dish and connect to the internet. Starlink is designed so you can set it up outside and get online out of the box, but if you're looking for a more permanent, rooftop installation, things get a bit more complicated.

Rooftop setups require specific mounts, cable routing, and tools. If you're hesitant to drill holes in your walls or climb up on your roof for safety reasons, you're not alone. The good news is that Starlink now offers professional installation across the United States through a third-party.

How much does Starlink professional installation cost?

Starlink's professional installation fees now depend on which internet plan you choose at checkout:

  • Residential 100 Mbps & 200 Mbps plans: $199 installation fee.
  • Residential MAX plan: Free installation.

While $199 might seem steep, it's completely in line with what most third-party technicians charge (for comparison, Best Buy's Geek Squad often charges upwards of $270 for similar setups). If you're opting for the high-speed MAX plan, getting installation included for free is a fantastic perk.

How the Starlink professional installation process works

When buying your Starlink kit in the US, the professional installation option will appear at checkout. Starlink has contracted with OnTech, a nationwide managed-tech service provider, to handle the heavy lifting.

After you complete your order, OnTech will contact you to set up an installation appointment. Before mounting the dish, your installer will determine the optimal spot on your roof or exterior to ensure a clear 360-degree view of the sky. They will mount the dish, route the heavy-duty cable through your home, set up your router, and ensure your service is fully activated before they leave.

Note: Starlink explicitly states on its website that because a third party handles these installations, Starlink itself is not responsible for the quality of the work or any potential damages.

Starlink

Starlink plans and pricing

Plan
Price
Download Speed
Latency
Recommended Equipment fee
Residential 100 Mbps*$55/mo.Up to 100Mbps30—40ms$349.00
Residential 200 Mbps*$85/mo.Up to 200Mbps30—40ms$349.00
Residential MAX$130/mo.Up to 400Mbps30—40ms$349.00
Roam 100 GB$55/mo.Up to 260Mbps<99ms$249.99–$349.00
Roam 300 GB$80/mo.Up to 260Mbps<99ms$249.99–$349.00
Roam Unlimited$175/mo.Up to 260Mbps<99ms$249.00–$349.00

Top speeds not guaranteed during peak hours
*Plan not available in all regions

How to self-install Starlink in under 30 minutes

If you'd rather save the $199 and tackle the setup yourself, you absolutely can. Starlink is engineered to be the ultimate DIY internet. I recently set up the V4 Standard dish at a cabin in rural Utah, and I found the process straightforward—I was online in about 20 minutes.

If you're using the standard kickstand mount included in the box, here is the fastest way to get your network up and running:

1
Unbox and prep your equipment:

No extra tools required for a basic setup. Your Standard Kit comes with the Starlink dish, Router, a 49-foot dish-to-router cable, and the power supply. 

2
Find a clear view of the sky:

Download the Starlink app and open the Obstructions tool. Point your phone's camera at the sky to scan the designated area. You need a spot with minimal red (obstructions) to ensure a stable connection. Set your dish down here using the built-in kickstand.

3
Place your router:

Find a central location inside your home for the Starlink router so the Wi-Fi reaches everywhere you need it.

4
Connect the cables:

Run the provided 49-foot cable from your outside dish to the router indoors. Then, plug the router into its power supply and into a standard wall outlet. The system will power on automatically.

5
Configure your network:

Open the Starlink app. Your phone should prompt you to connect to the default "STARLINK" Wi-Fi network. The dish will automatically search for satellites, and the app will show you how to manually align it using an on-screen compass. Once connected, tap "Router not configured" to set up your personal network name and password.

FAQ

Not at all. You can install it entirely yourself using the kickstand included in the box, or hire a local independent contractor, roofer, or a service like Best Buy's Geek Squad to mount it permanently for you.

Starlink is rolling out its OnTech partnership across the United States. You will see the professional installation option during checkout if it is available at your specific service address.

Andreas Rivera
Written by
Andreas Rivera is a lifelong writer with a decade-spanning career in journalism and marketing. He comes to SatelliteInternet.com with several years of experience writing about business and technology. His passion for researching the latest advancements in tech, especially the now essential need for reliable internet access, fuels his goal of educating others about how these innovations affect and improve our everyday lives. When not researching and writing about SatelliteInternet.com, you’ll likely find him buried in a good book or enjoying the great outdoors with a fishing rod.