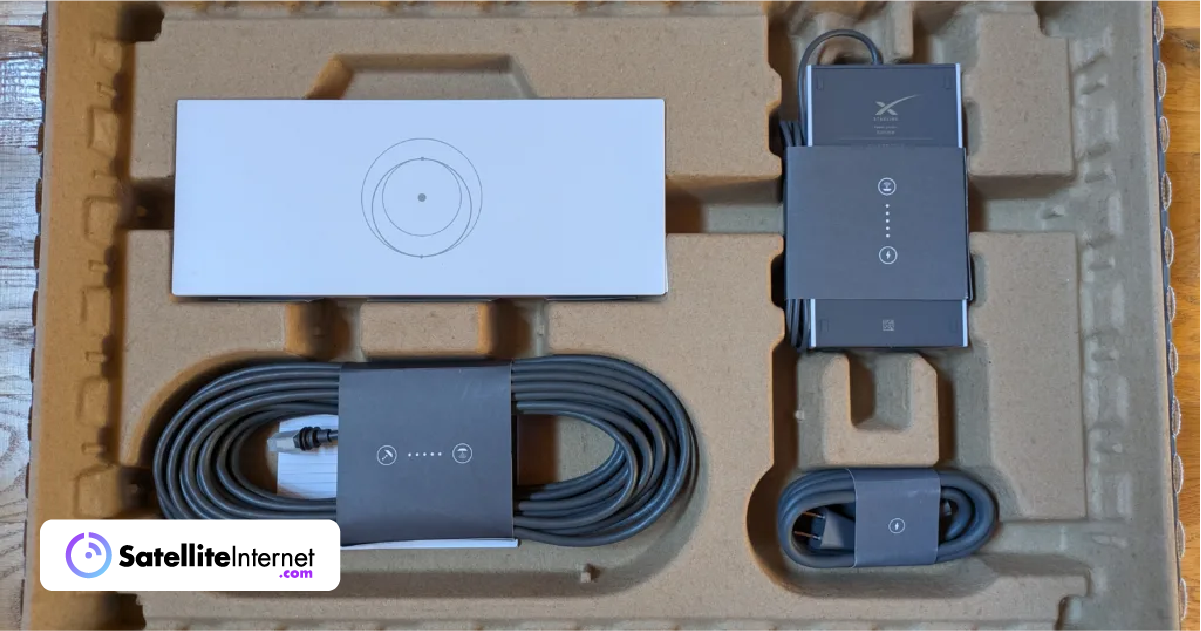
Starlink is the ultimate DIY internet since it’s engineered to be entirely self-installed by customers, and I’m here to show you the easiest way to get online. Starlink only provides the hardware and doesn’t install it for you. However, Starlink is much simpler to set up than other satellite providers. All you really need is a Starlink kit and a smartphone.
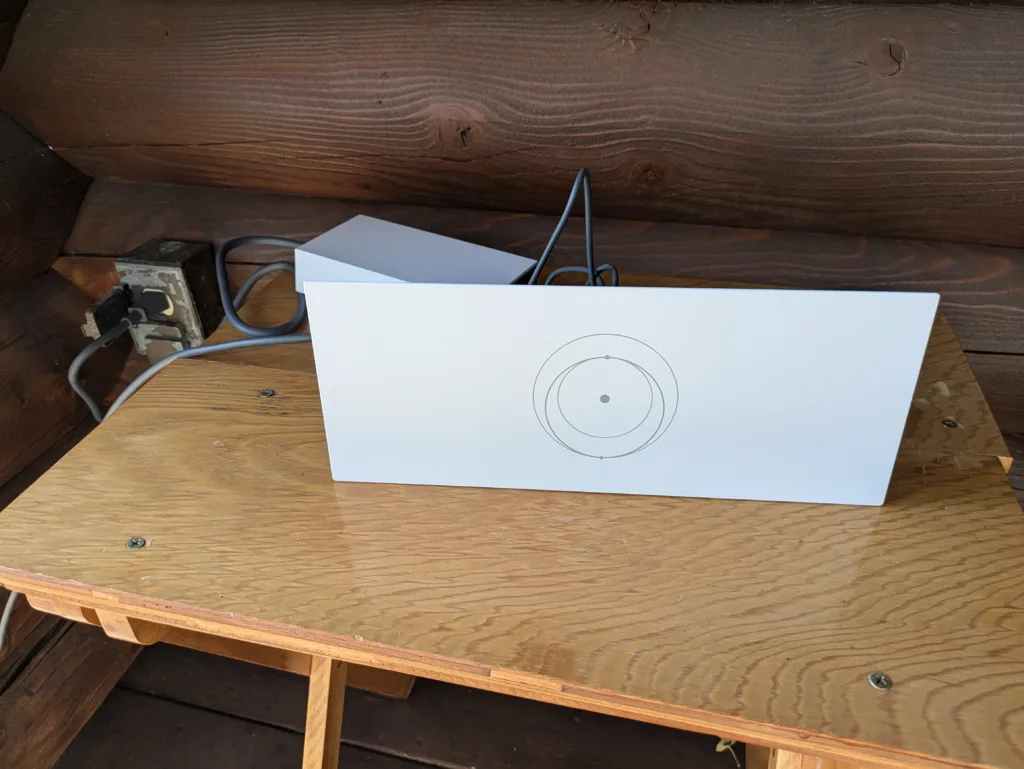
I got my hands on the latest version of the Starlink Standard dish and decided to test it at my cabin in rural Utah, high up in the mountains. It’s the first internet provider I’ve used that’s completely self-install. Cable, fiber, and other satellite providers require a technician to enter your home and set up their hardware. Instead of being a pain to install, I found the process straightforward: getting online in just over 20 minutes.
This approach to setup means your installation can be as simple or complex as needed. For example, I would simply set the dish on the ground outside my cabin for the weekend—then pack it up and put it away when I finished. You can also permanently install your Starlink dish on your home like a traditional satellite dish, but as you can imagine, it will require more work and materials.
Don’t have your Starlink kit yet? Check to see if Starlink is available in your area.
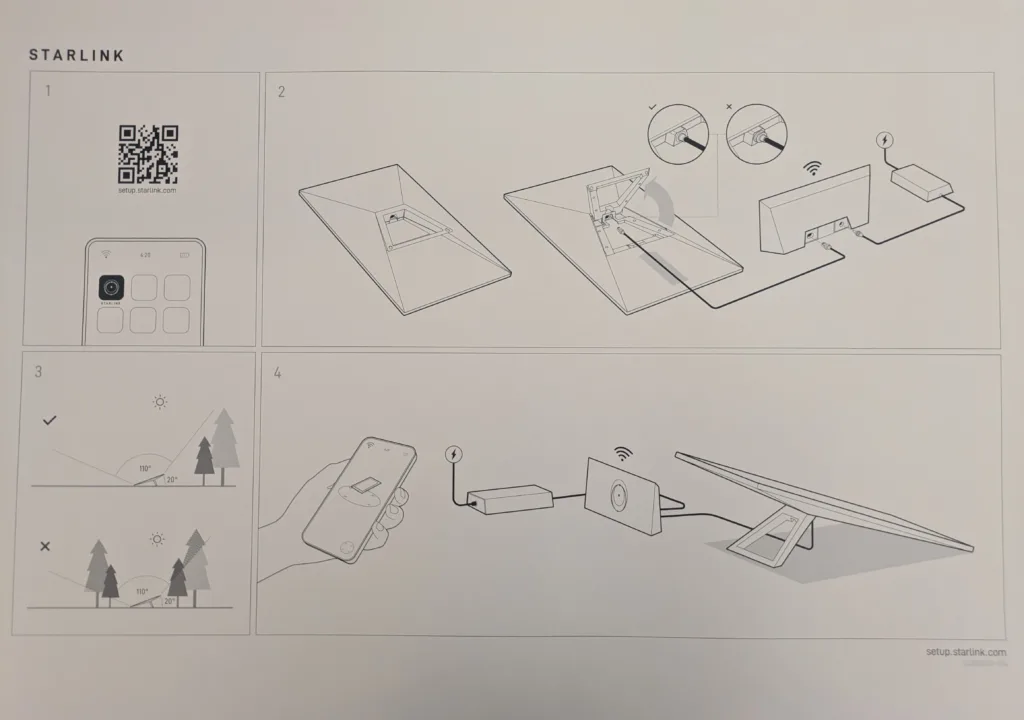
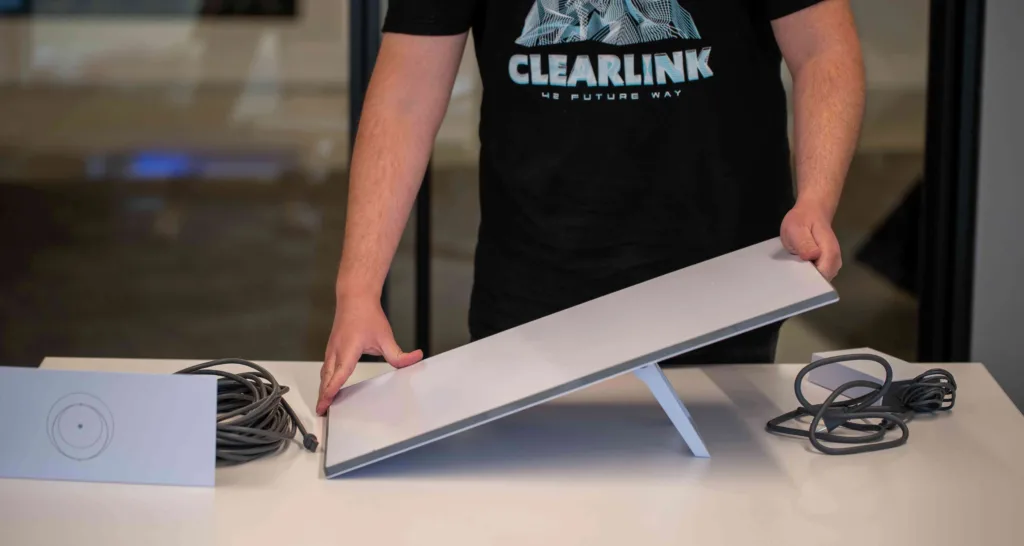
Someone opening their Starlink kit for the first time may expect it to come with a detailed instruction booklet like most complicated tech hardware. However, I was surprised that the only instructions that came in the box were a simple diagram on poster board that didn’t even have words.