The Starlink Router, included with all kits, is the primary way to get Wi-Fi out of the box with your Starlink satellite internet. However, all Wi-Fi routers have limitations, and Starlink is no exception. The Wi-Fi signal diminishes with distance, walls, ceilings, and other obstructions. Whether you’re trying to get Wi-Fi coverage in a large home with lots of walls and floors or across a large property, one router usually isn't enough. That's when a mesh is necessary, allowing you to extend your Wi-Fi network with multiple devices without having to plug them directly into your dish.
The Starlink Standard comes with the Gen 3 router, which features Wi-Fi 6 that covers up to 3,200 square feet, according to Starlink's specifications. The Starlink Mini has a built-in Wi-Fi 5 router and is said to cover up to 1,200 square feet. These estimates are typically reduced by obstructions and the number of connected devices. Fortunately, you have multiple options to extend your Wi-Fi network with mesh.
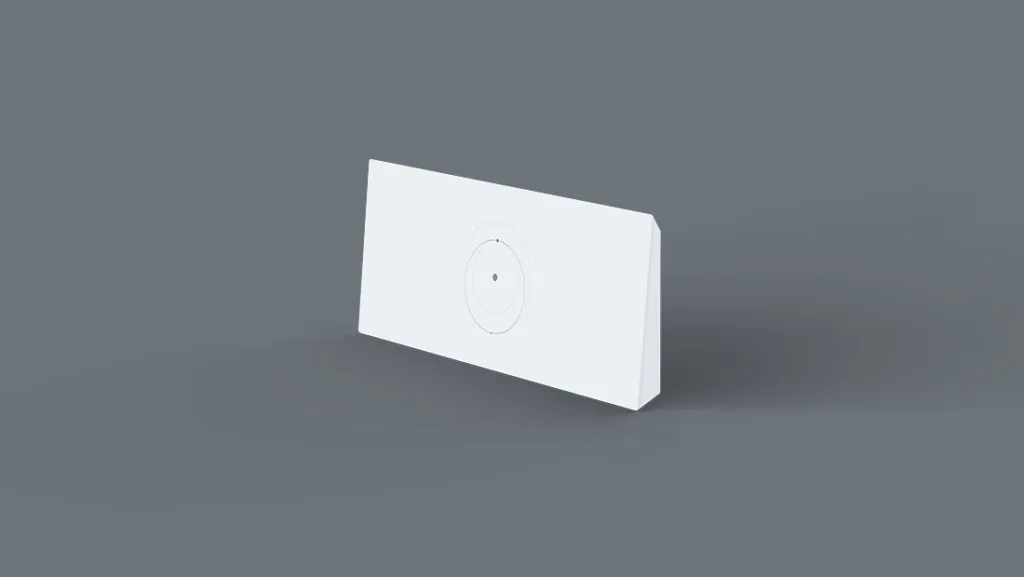
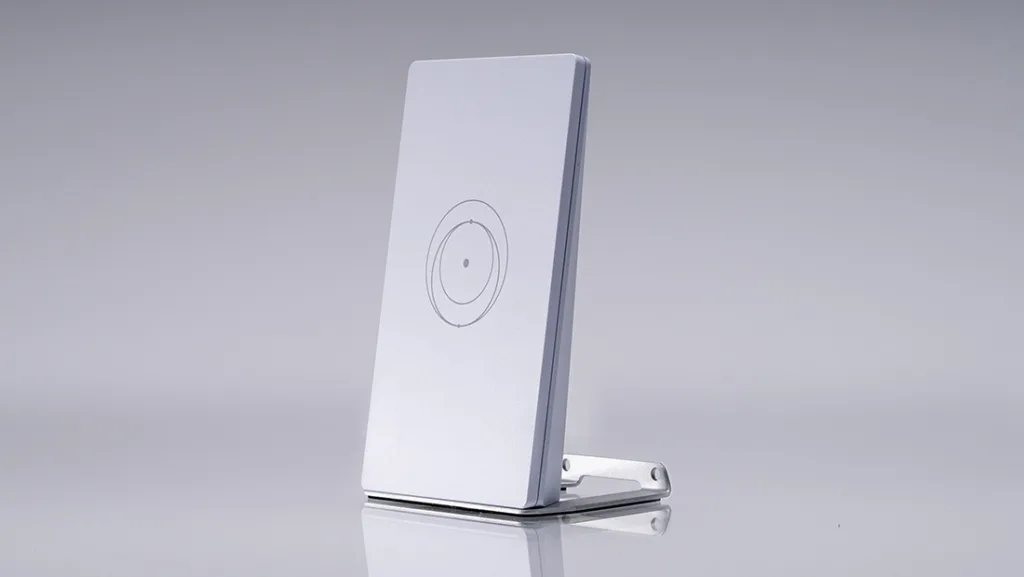
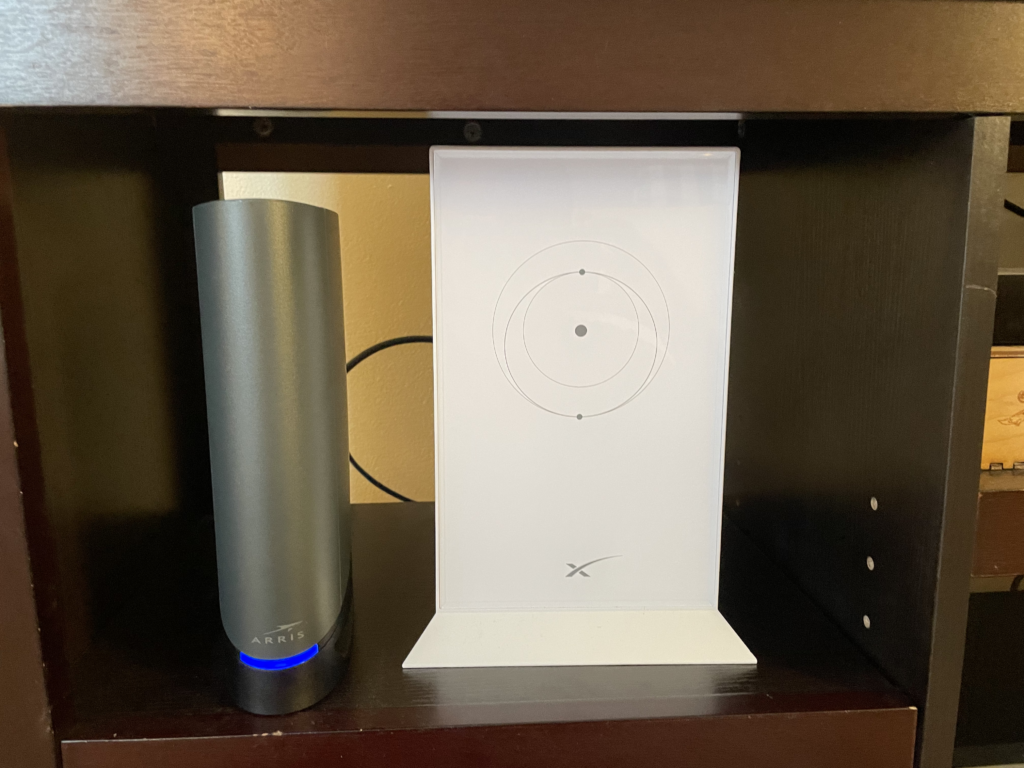
You have Starlink but want to extend the Wi-Fi signal to a guest house, detached garage, or outdoor patio. Maybe your farm has several devices, such as livestock monitors, smart gates, or irrigation controllers. The easiest way to create a mesh network for Starlink is by using multiple Starlink routers. If you have multiple Starlink routers, you can daisy-chain them to extend your Wi-Fi network, and the setup is nearly as easy as plugging them in. This method only works with compatible Starlink devices.
- Select the spot where you want to put your mesh router. It needs to be in a spot where it can be easily plugged into a power outlet.
- After you plug in your mesh router, wait a few minutes for it to boot up. Ensure your phone is connected to your Starlink network. You should get a notification from your Starlink app that it detects a mesh device and will ask you if you want to pair it.
- Select “Pair,” and that’s it!
Devices on your network will now automatically connect to the Starlink device with the strongest signal in the area, whether it’s in a building or outside around your property.
To manage your Wi-Fi settings, you can access them in the network screen of your app. There, you can name the mesh devices, block or unblock devices, and unpair them if necessary.
If you prefer to use your own network devices or already have them on hand, you can set up a Starlink mesh network with them. However, this requires you to set up your Starlink in bypass mode, which effectively puts your router in standby so that it can communicate with your third-party hardware. You will need a separate router, as the Starlink router is not compatible with third-party mesh devices. Learn how to set up your device in bypass mode here.
After your Starlink is put in bypass mode, follow the steps to set up your network as instructed by your device’s manufacturer.
The compatible Starlink devices that could be used as mesh devices are: